Notice: Function _load_textdomain_just_in_time was called incorrectly. Translation loading for the hostinger-ai-assistant domain was triggered too early. This is usually an indicator for some code in the plugin or theme running too early. Translations should be loaded at the init action or later. Please see Debugging in WordPress for more information. (This message was added in version 6.7.0.) in /home/irttsubu/webartinfo.com/wp-includes/functions.php on line 6260
Tutorial – Webartinfo | Creativity With Perfection
Notice: Function WP_Scripts::add was called incorrectly. The script with the handle "czgb-block-frontend-js" was enqueued with dependencies that are not registered: slick-carousel. Please see Debugging in WordPress for more information. (This message was added in version 6.9.1.) in /home/irttsubu/webartinfo.com/wp-includes/functions.php on line 6260
Posted on — Leave a comment

How To Get More YouTube Subscribers In 2024 By Making A Channel Subscribe Link

How To Get More YouTube Subscribers In 2024 By Making A Channel Subscribe Link

To get more YouTube subscribers in 2024, creating a channel subscribe link can be an effective strategy. Here’s a step-by-step guide on how to do it:

  1. Access Your YouTube Channel:
    • Log in to your YouTube account and go to your channel’s homepage.
  2. Navigate to YouTube Studio:
    • Click on your profile picture in the top-right corner and select “YouTube Studio” from the dropdown menu.
  3. Access Your Channel Settings:
    • In YouTube Studio, navigate to the left sidebar and click on “Settings” (the gear icon).
  4. Find Your Channel ID:
    • Under the “Channel” section, click on “Advanced settings.”
    • You’ll find your Channel ID listed under the “Channel settings” tab. Copy this Channel ID.
  5. Create the Subscribe Link:
    • Open a web browser and type the following URL, replacing “CHANNEL_ID” with your actual Channel ID: https://www.youtube.com/channel/CHANNEL_ID?sub_confirmation=1
    • For example, if your Channel ID is “UC1234567890”, your subscribe link will be: https://www.youtube.com/channel/UC1234567890?sub_confirmation=1
  6. Use the Link:
    • Share this subscribe link across your social media platforms, website, blog, email newsletters, and other promotional channels.
    • Encourage viewers to click on the link to subscribe to your YouTube channel directly.
  7. Optimize Your Call-to-Action (CTA):
    • When sharing your subscribe link, include a clear and compelling call-to-action (CTA) to encourage viewers to subscribe.
    • For example, you can say, “Subscribe to my channel for weekly updates on [topic]” or “Join our community by subscribing to our channel.”
  8. Promote Your Content:
    • Create high-quality and engaging content that provides value to your target audience.
    • Use SEO techniques to optimize your video titles, descriptions, and tags to increase visibility and attract more viewers.
    • Encourage viewers to like, comment, and share your videos, as engagement signals can help boost your channel’s visibility on YouTube.
  9. Engage with Your Audience:
    • Respond to comments, messages, and feedback from your viewers to build a strong relationship and community.
    • Host live streams, Q&A sessions, or interactive events to engage with your audience in real-time.
  10. Consistency is Key:
    • Stay consistent with your content schedule and upload new videos regularly to keep your audience engaged and coming back for more.

By creating a subscribe link and implementing these strategies, you can effectively grow your YouTube subscriber base in 2024. Remember to provide value, engage with your audience, and promote your content across various channels to maximize your growth potential.

Posted on — Leave a comment

How to Build A Simple Ionic 4 WordPress Client

Ionic 4 WordPress

As basically the whole internet is powered by WordPress, chances are high you have to interact with it at if a client approaches you for a mobile app.

Because by now WordPress includes a great REST API we can easily connect our Ionic app to the data it holds. While we previously used the wp-api-angular package, it seems like the plugin is basically dead and not maintained so let’s just use the API directly!

Setting up our Ionic WordPress App

We start with a blank Ionic 4 app and just create some additional pages and a service, so no further plugin needed!

ionic start pojectname blank --type=angular
cd pojectname
ionic g page pages/posts
ionic g page pages/post
ionic g service services/wordpress

Now we also need to include the module to make Http calls to the API so change your app/app.module.ts to:

import { NgModule } from '@angular/core';
import { BrowserModule } from '@angular/platform-browser';
import { RouteReuseStrategy } from '@angular/router';
 
import { IonicModule, IonicRouteStrategy } from '@ionic/angular';
import { SplashScreen } from '@ionic-native/splash-screen/ngx';
import { StatusBar } from '@ionic-native/status-bar/ngx';
 
import { AppComponent } from './app.component';
import { AppRoutingModule } from './app-routing.module';
 
import { HttpClientModule } from '@angular/common/http';
 
@NgModule({
  declarations: [AppComponent],
  entryComponents: [],
  imports: [BrowserModule, IonicModule.forRoot(), AppRoutingModule,
    HttpClientModule],
  providers: [
    StatusBar,
    SplashScreen,
    { provide: RouteReuseStrategy, useClass: IonicRouteStrategy }
  ],
  bootstrap: [AppComponent]
})
export class AppModule {}

Finally we need to setup our routing. We will have a list of WordPress posts and also a details page for one post. Therefore, connect the two pages we created before like this inside our app/app-routing.module.ts:

import { NgModule } from '@angular/core';
import { Routes, RouterModule } from '@angular/router';

const routes: Routes = [
  { path: '', redirectTo: 'posts', pathMatch: 'full' },
  { path: 'posts', loadChildren: './pages/posts/posts.module#PostsPageModule' },
  { path: 'posts/:id', loadChildren: './pages/post/post.module#PostPageModule' },
];

@NgModule({
  imports: [RouterModule.forRoot(routes)],
  exports: [RouterModule]
})
export class AppRoutingModule { }

Now we start at the list page and can navigate into the details of one specific blog post!

Creating the WordPress Service

Before we go into creating our views we setup the logic to retrieve all data. In our post we will simply make a call to get a list of posts, but you can get basically all data from the WordPress API like categories, tags, pages…

We will also limit our calls to only retrieve 5 posts at a time and also use the page parameter so we can later add some cool loading to our list.

Besides that we need to make another change if you want to know how many pages/results the API actually holds:
First, we have to add the observe key to our options and pass response as the value. But because this results in a Typescript error, we also need to have it as ‘body’ but maybe this will be fixed anytime soon.

Now the response of the API call holds more information than normally – it also contains the header fields! In this value we can find x-wp-totalpages and x-wp-total which are the actual information we need!

I also added a little conversion directly here so we can later access the image more easily which is buried deep down in the response otherwise. Same for the function to retrieve a single post of course.

All of this goes into your app/services/wordpress.service.ts like this:

import { Injectable } from '@angular/core';
import { HttpClient } from '@angular/common/http';
import { Observable } from 'rxjs';
import { map } from 'rxjs/operators';

@Injectable({
  providedIn: 'root'
})
export class WordPressService {
  url = `https://yourwordpresspage.com/wp-json/wp/v2/`;
  totalPosts = null;
  pages: any;
  constructor(private http: HttpClient) { }
  getPosts(page = 1): Observable<any[]> {
    let options = {
      observe: "response" as 'body',
      params: {
        per_page: '5',
        page: ''+page
      }
    };
    return this.http.get<any[]>(`${this.url}posts?_embed`, options).pipe(
      map(resp => {
        this.pages = resp['headers'].get('x-wp-totalpages');
        this.totalPosts = resp['headers'].get('x-wp-total');
        let data = resp['body'];
        for (let post of data) {
          post.media_url = post['_embedded']['wp:featuredmedia'][0]['media_details'].sizes['medium'].source_url;
        }
        return data;
      })
    )
  }
  getPostContent(id) {
    return this.http.get(`${this.url}posts/${id}?_embed`).pipe(
      map(post => {
        post['media_url'] = post['_embedded']['wp:featuredmedia'][0]['media_details'].sizes['medium'].source_url;
        return post;
      })
    )
  }
}

Just make sure you insert your own WordPress blog URL of course.

Now we got everything prepared and can use our functions to display our WordPress posts easily!

Listing Your WordPress Posts

We start with the list where we need to load our first handful of posts right in the beginning. At this point you also got access to the count and pages variable that we retrieved previously, but we don’t really use it a lot in here.

The reason is that we can also implement infinite scrolling inside our view which will automatically load new posts once we reach (or approach) the end of the list!

That’s also the reason why we keep track of the current page. You could also structure this with some sort of pagination and number of pages like you are used on a website, however this pattern here makes more sense for a mobile app.

Finally, if you reach the final page you should also disable the infinite loading like we do inside our loadMore() function.

Now go ahead and change your pages/posts/posts.page.ts to:

import { WordPressService } from './../../services/wordpress.service';
import { Component, OnInit } from '@angular/core';
import { LoadingController } from '@ionic/angular';

@Component({
  selector: 'app-posts',
  templateUrl: './posts.page.html',
  styleUrls: ['./posts.page.scss'],
})

export class PostsPage implements OnInit {
  posts = [];
  page = 1;
  count = null;
  constructor(private wp: WordPressService, private loadingCtrl: LoadingController) { }
  
  ngOnInit() {
    this.loadPosts();
  }

  async loadPosts() {
    let loading = await this.loadingCtrl.create({
      message: 'Loading Data...'
    });
    await loading.present();
    this.wp.getPosts().subscribe(res => {
      this.count = this.wp.totalPosts;
      this.posts = res;
      loading.dismiss();
    });
  }

  loadMore(event) {
    this.page++;
    this.wp.getPosts(this.page).subscribe(res => {
      this.posts = [...this.posts, ...res];
      event.target.complete();
      // Disable infinite loading when maximum reached
      if (this.page == this.wp.pages) {
        event.target.disabled = true;
      }
    });
  }
}

The view now just consists of a list of cards that make use of some data that is stored in the response. Just log it to your console and you will see a ton of information in there!

Some of those fields contain HTML characters, that’s why we sometimes use the innerHTML of elements and directly use the value which will then be displayed correctly.

If you want infinite loading, simply add it to the bottom of your page and attach the appropriate loading function. You can also define a text or loading indicator like described on the docs!

To build our simple view, go ahead and insert into your pages/posts/posts.page.html:

<ion-header>
  <ion-toolbar color="primary">
    <ion-title>Devdactic Blog</ion-title>
  </ion-toolbar>
</ion-header>
<ion-content padding>
  <div text-center *ngIf="count">Found {{ count }} posts</div>
  <ion-card *ngFor="let post of posts">
    <ion-card-header>
      <ion-card-title [innerHTML]="post.title.rendered"></ion-card-title>
      <ion-card-subtitle>{{ post.date_gmt | date }}</ion-card-subtitle>
    </ion-card-header>
    <ion-card-content>
      <img [src]="post.media_url">
      <div [innerHTML]="post.excerpt.rendered"></div>
      <ion-button expand="full" fill="clear" [routerLink]="['/', 'posts', post.id]" text-right>Read More...</ion-button>
    </ion-card-content>
  </ion-card>
  <ion-infinite-scroll threshold="100px" (ionInfinite)="loadMore($event)">
    <ion-infinite-scroll-content loadingText="Loading more posts...">
    </ion-infinite-scroll-content>
  </ion-infinite-scroll>
</ion-content>

We try to keep it simple so we just use the posts, but we could also easily load all pages and display them in a side menu for example!

Showing The WordPress Post Details

We also added a button to our cards below the excerpt with the routerLink in order to reach the details page with the ID of the post.

We could actually also pass the whole object to the next page using the state, but I still think using the ID approach is better as we don’t keep the information in the state and we actually got a URL to the post page that will work all the time, even with refresh!

For us this means we need to get the ID from the route snapshot and then retrieve the information for a single post using our service!

I just added a functionality to open the actual post page as well to make some us of the data of the post, but of course there’s a lot more you could do with the data.

For now simply change your pages/post/post.page.ts to:

import { WordPressService } from './../../services/wordpress.service';
import { Component, OnInit } from '@angular/core';
import { ActivatedRoute } from '@angular/router';
@Component({
  selector: 'app-post',
  templateUrl: './post.page.html',
  styleUrls: ['./post.page.scss'],
})

export class PostPage implements OnInit {
  post: any;
  constructor(private route: ActivatedRoute, private wp: WordPressService) { }
  ngOnInit() {
    let id = this.route.snapshot.paramMap.get('id');
    this.wp.getPostContent(id).subscribe(res => {
      this.post = res;
    });
  }
  openOriginal() {
    // Add InAppBrowser for app if want
    window.open(this.post.link, '_blank');
  }
}

Regarding the view of the details page we’ll also keep it simple and just use the image (like we did before, remember the media_url is a field we created in the service!) and the actual post content.

Again, to display the HTML correctly we need to use innerHTML which will render the tags correctly.

There’s really not a lot more to the page, so finish your simple Ionic WordPress app by changing your pages/post/post.page.html to:

<ion-header>
  <ion-toolbar color="primary">
    <ion-buttons slot="start">
      <ion-back-button defaultHref="/posts"></ion-back-button>
    </ion-buttons>
    <ion-title>{{ post?.title.rendered }}</ion-title>
  </ion-toolbar>
</ion-header>
<ion-content padding>
  <div *ngIf="post">
    <img [src]="post.media_url" [style.width]="'100%'">
    <div [innerHTML]="post.content.rendered" padding></div>
  </div>
</ion-content>
<ion-footer color="secondary">
  <ion-toolbar>
    <ion-button expand="full" fill="clear" (click)="openOriginal()">
      Open Original
    </ion-button>
  </ion-toolbar>
</ion-footer>

Another idea at this point would be to add social sharing which you very well might need if you want your articles to get shared directly from your WordPress app!

Conclusion

You don’t need a package to make use of the WordPress REST API – simply make calls to the endpoints like described in their reference and use that data directly inside your Ionic app!

There are so many ways to extend this and build Ionic apps powered with WordPress data – have you built one before or plan to do so?

You can also find a video version of this tutorial below.

Posted on — 1 Comment

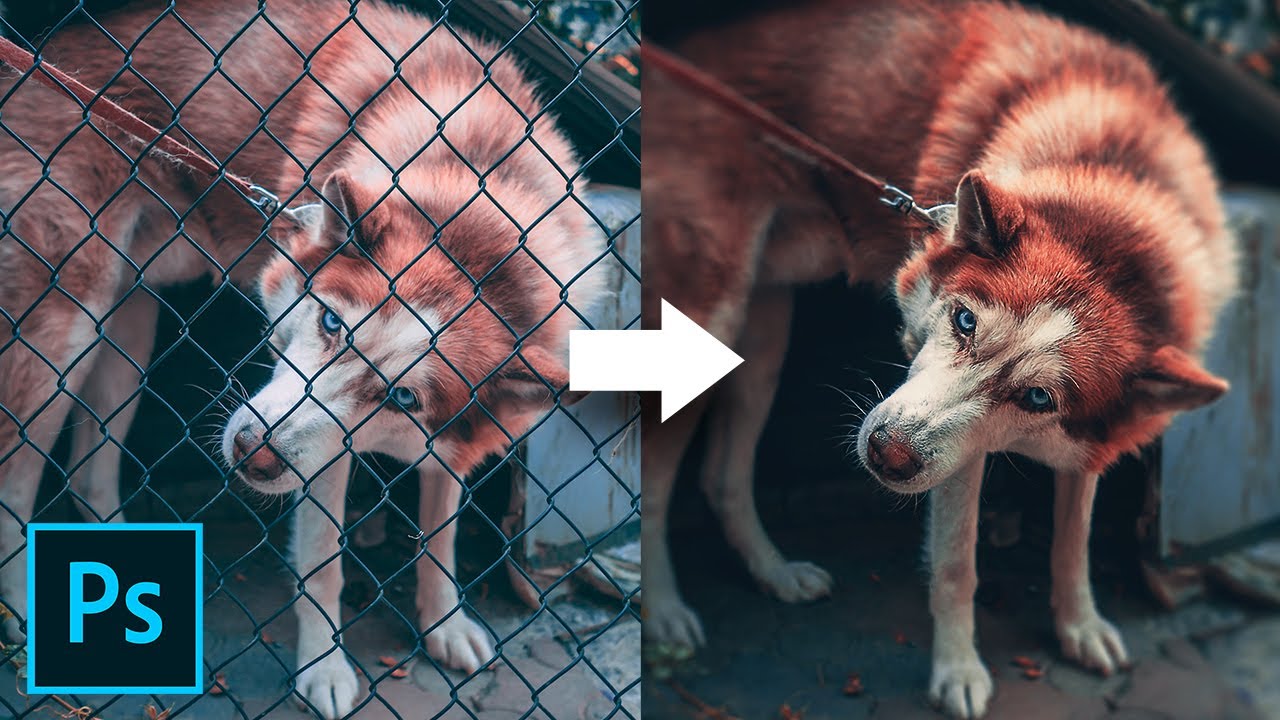
Remove Fence with 3 Simple Steps in Photoshop!

Remove Fence with 3 Simple Steps in Photoshop!

Fences Obstructing Your Shot? Easily Remove Fence by Using 3 Simple Steps in Photoshop! Learn a simple but extremely powerful shortcut to easily brush off the fence with straight lines.

In this tutorial, we will utilize the power of Photoshop’s latest Content-Aware fill feature to remove the distractions after creating a selection easily with brushes. I hope this tutorial helps you.

► DOWNLOADS:
1. Sample Image: http://bit.ly/2tHeUnd
2. Finished PSD: http://bit.ly/39WFGsG (Only for our Patreon Family)

Posted on — Leave a comment

Easiest Way To Convert HTML Pages Into React Components

Converts HTML pages into React components

This utility was designed to free React developers from a boring work of translating HTML into React components.
Imagine you just got a pile of HTML from your designers. The first thing you will do is break HTML into React components. This is boring and we can automate this.

HTML components should be annotated with data-component attribute. The value of the attribute is the name of the React component. The structure of HTML is preserved by importing child components and replacing appropriate pieces of HTML with them. As a result, you get an entire components tree ready to be rendered.

Read API and CLI build options reference

$ npm i -g html-to-react-components
$ html2react index.html
<!-- index.html -->
<!DOCTYPE html>
<html lang="en">
<head>
  <meta charset="UTF-8">
  <title>Document</title>
</head>
<body>

  <header class="header" data-component="Header">
    <h1 class="heading" data-component="Heading">Hello, world!</h1>
  </header>

</body>
</html>

⤓

// header.js
import React from 'react';
import Heading from './heading';

const Header = React.createClass({
  render() {
    return (
      <header className="header">
        <Heading></Heading>
      </header>
    );
  }
});

export default Header;

// heading.js
import React from 'react';

const Heading = React.createClass({
  render() {
    return <h1 className="heading">Hello, world!</h1>;
  }
});

export default Heading;
Posted on — Leave a comment

Top 8 Youtube channels for UI/UX designers

Top 8 Youtube channels for UI/UX designers

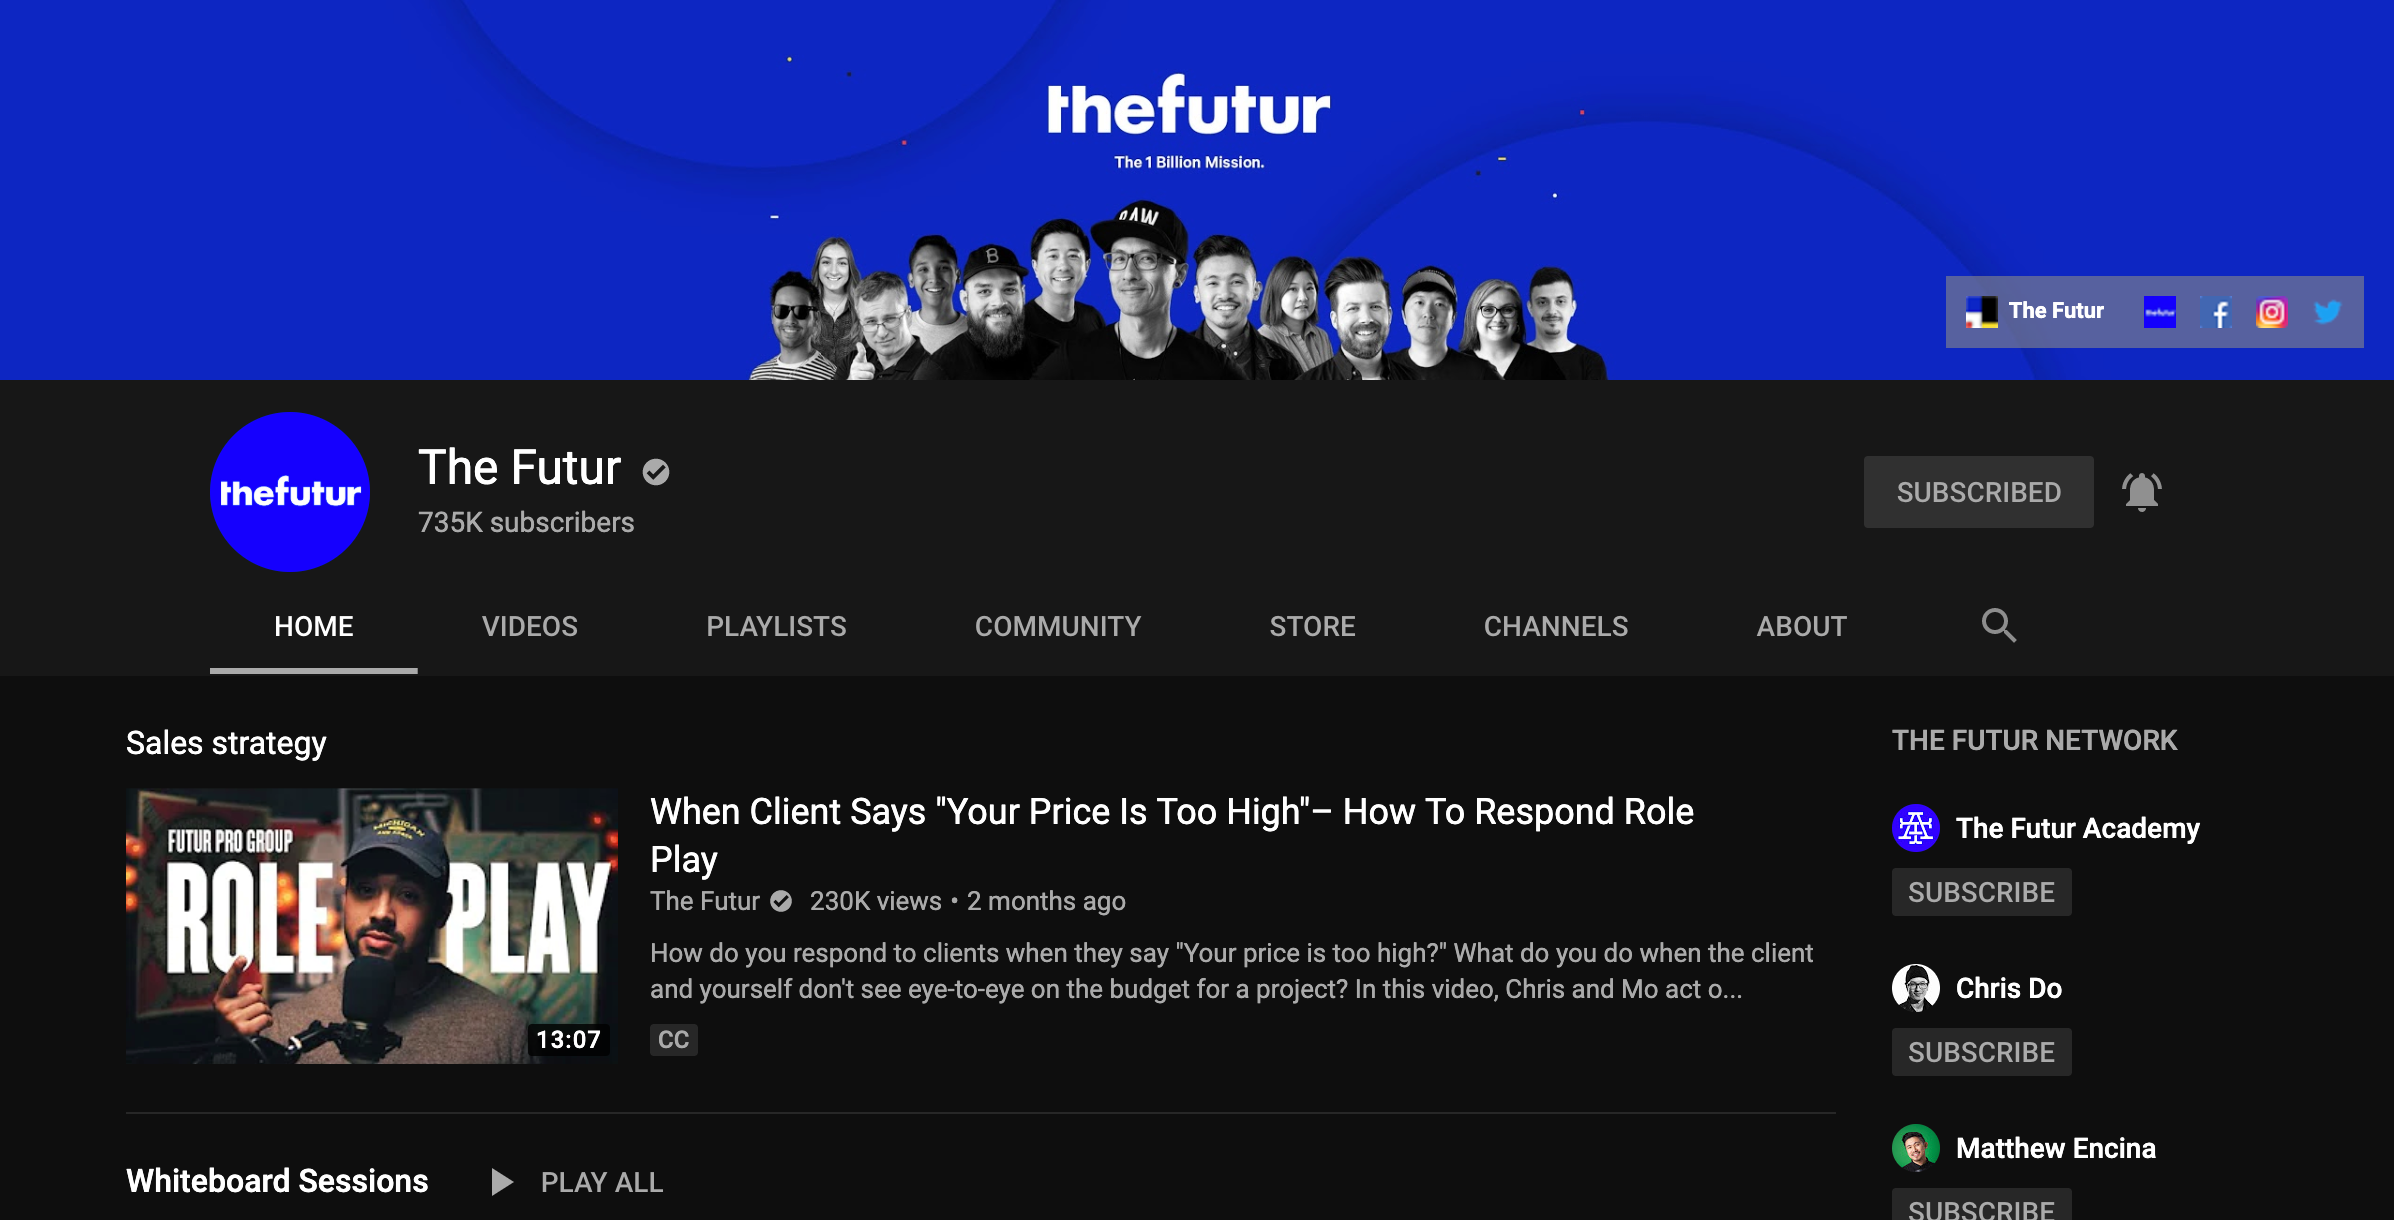
The Futur

Top Youtube channels for UI/UX designers

https://www.youtube.com/user/TheSkoolRocks

The Futur comes to delivering rock-solid information on Branding, UX, Freelancing, education, design, business, learning and Graphic Design content.

[divider style=”solid” top=”20″ bottom=”20″]

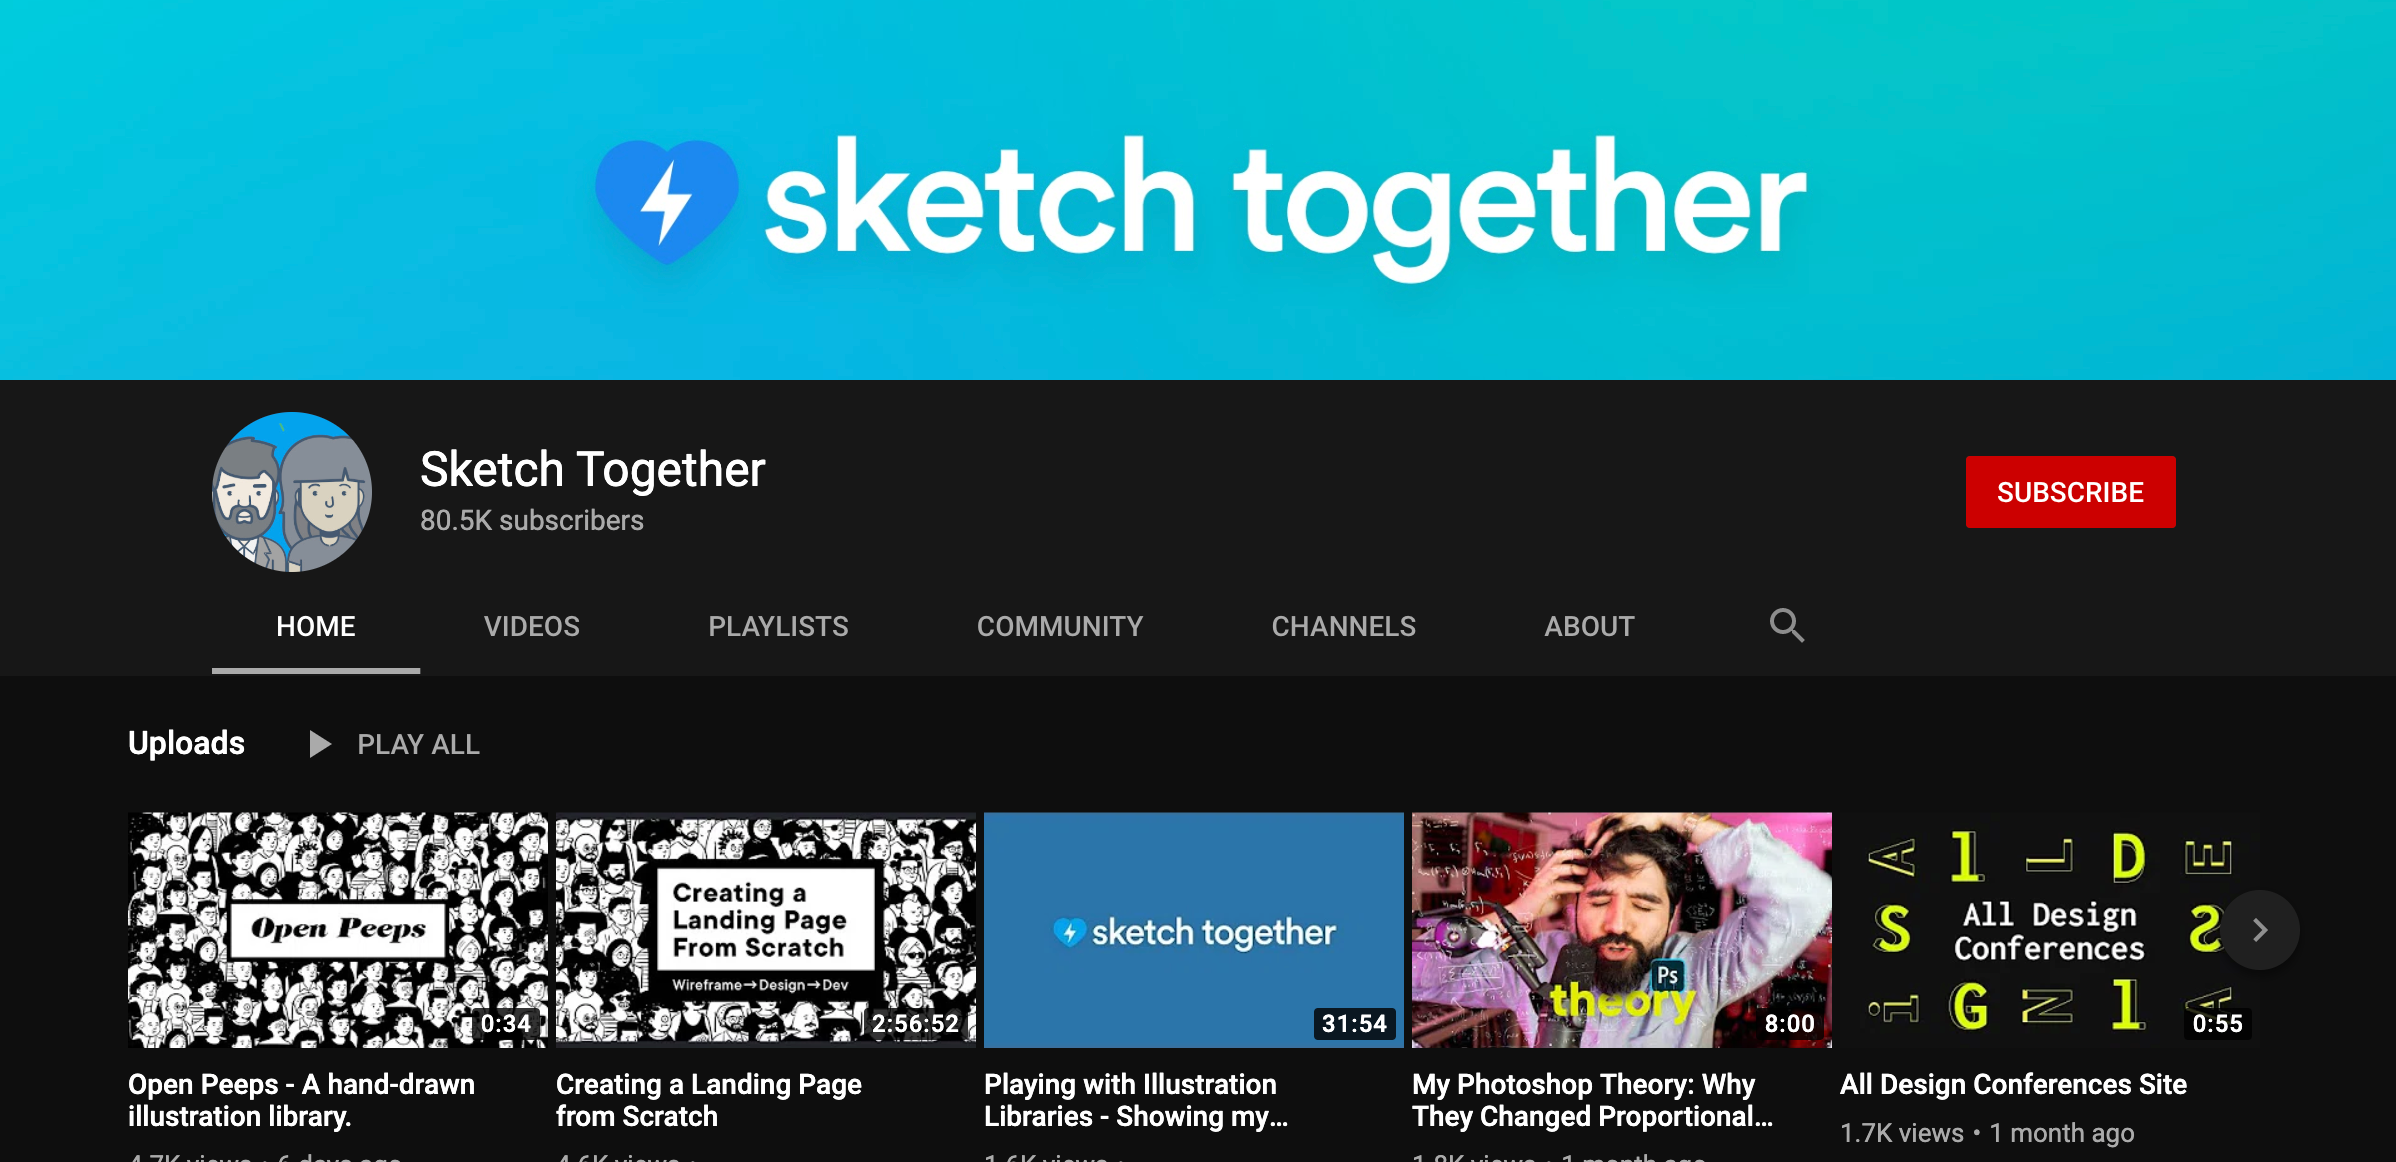
Sketch together 

Top Youtube channels for UI/UX designers

https://www.youtube.com/channel/UCZHkx_OyRXHb1D3XTqOidRw 

A channel dedicated to all things related to User Experience and User Interface design.

[divider style=”solid” top=”20″ bottom=”20″]

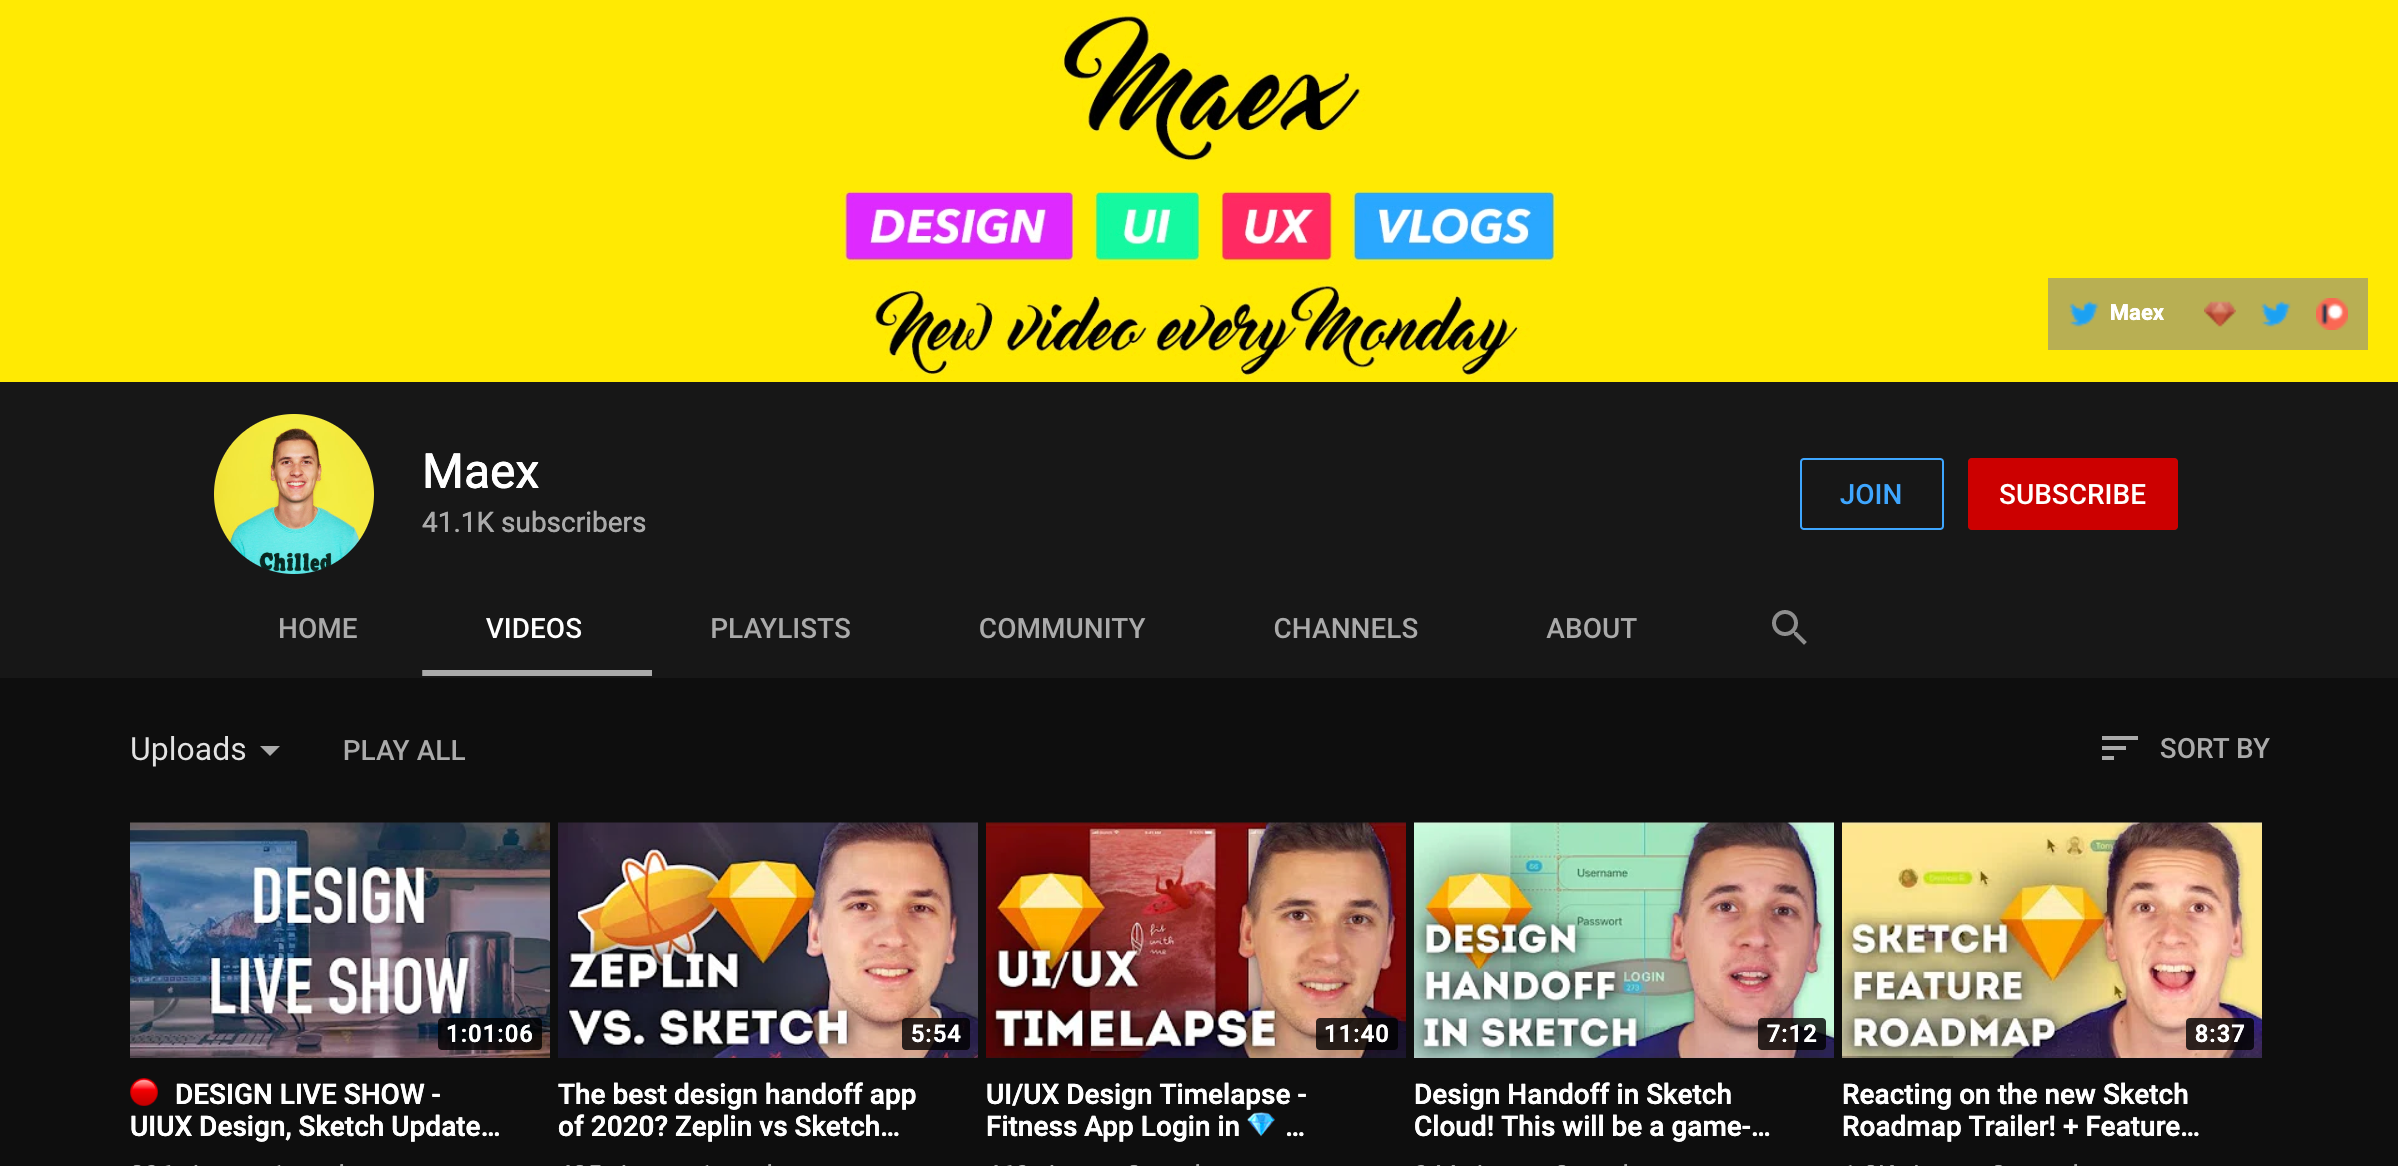
Maex 

Top Youtube channels for UI/UX designers

https://www.youtube.com/channel/UCSdp5logiFTM3SyLJrHabOQ/videos 

This channel create tutorials about Sketch, Adobe XD, InVision, Marvel & Principle and all the other UI/UX tools out there.

[divider style=”solid” top=”20″ bottom=”20″]

Flux 

Top Youtube channels for UI/UX designers

https://www.youtube.com/channel/UCN7dywl5wDxTu1RM3eJ_h9Q/videos

Flux is the personal vlog of Ran Segall, a designer, and an entrepreneur. He shares his journey, struggles and lessons he learned as he builds his career as a designer and a business owner. 

[divider style=”solid” top=”20″ bottom=”20″]

Laith Wallace

Top Youtube channels for UI/UX designers

https://www.youtube.com/channel/UCnpdR3kXJgs2y8o_PNddZxQ/videos

On Laith Wallace channel, he focuses on advice, tools, and motivation to UX/UI Design students, small businesses and people looking to start a career in UX who want to understand their users even better.

[divider style=”solid” top=”20″ bottom=”20″]

UX Mastery

Top Youtube channels for UI/UX designers

https://www.youtube.com/user/uxmastery

This channel focuses on user experience (UX) and human-centred design (HCD). They cover everything under the UX umbrella—usability, user interface design, interaction design, design thinking, and more.

[divider style=”solid” top=”20″ bottom=”20″]

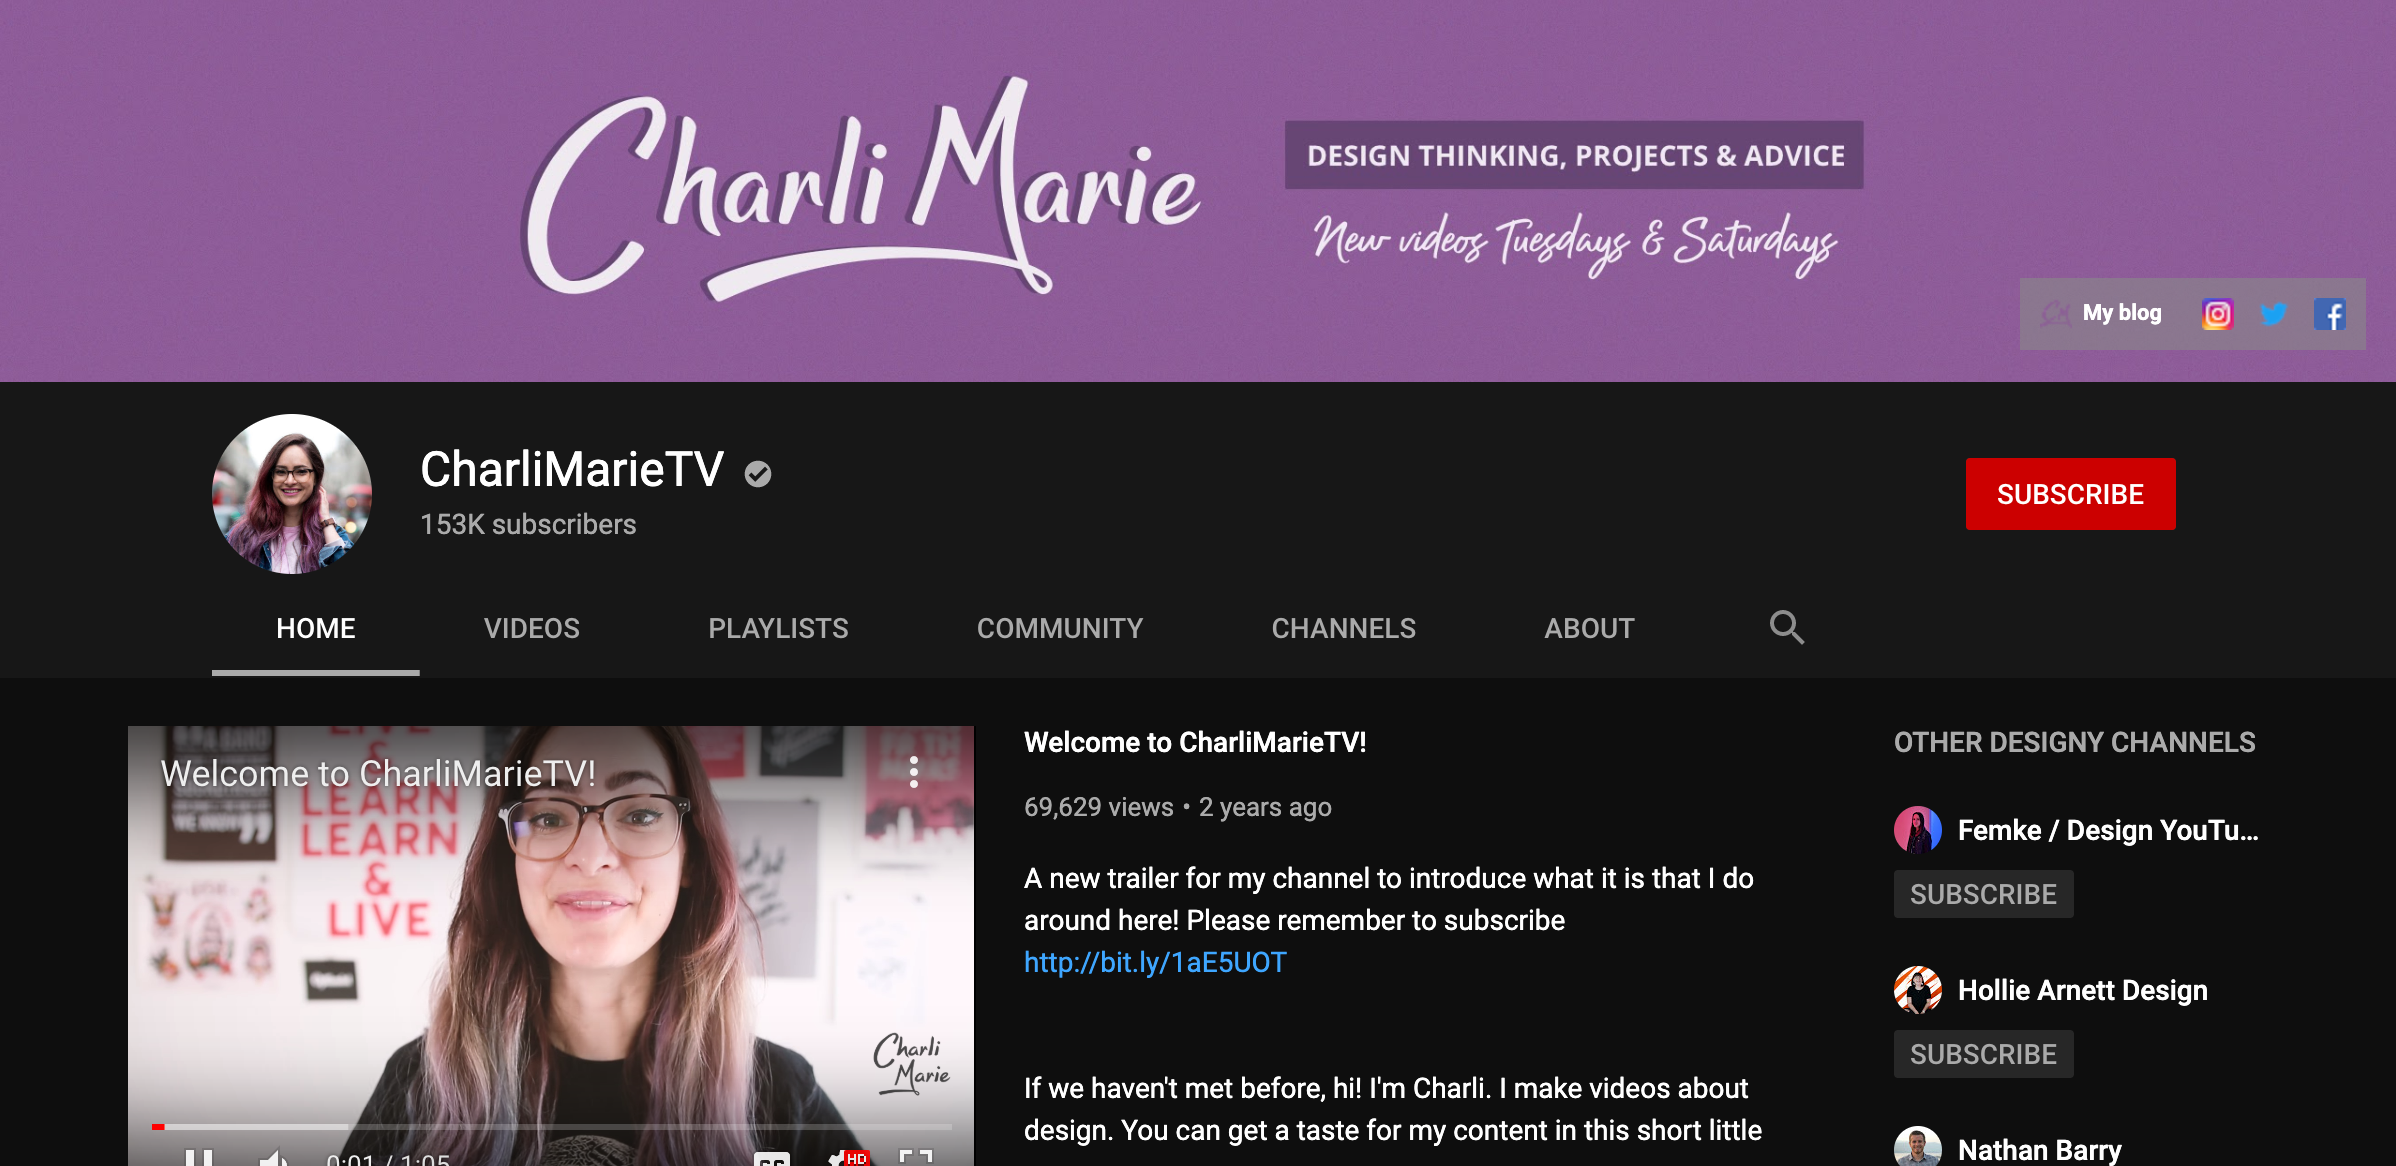
Charli Marie

Top Youtube channels for UI/UX designers

https://www.youtube.com/user/charlimarieTV

Her channel has great content about web design, graphic design, her processes and yes, Bullet journaling too. She also posts videos on projects and concepts and vlogs about her life as a designer.

[divider style=”solid” top=”20″ bottom=”20″]

Aj&Smart 

Top Youtube channels for UI/UX designers

https://www.youtube.com/channel/UCeB_OpLspKJGiKv1CYkWFFw/videos

This channel upload new videos every week about product design, ux design, design sprints and a whole lot more! For regular design content, design.

[divider style=”solid” top=”20″ bottom=”20″]

More Updates IG : Gurdeep Osahan , Ask Bootstrap

Thanks 🙂

Posted on

100 sources of free stock images for your templates, videos and websites

100-sites-for-free-photos-cover

Images are great ways to express feelings. Visualizing ideas is very effective to gain more user engagement. But finding the appropriate image is not so easy. There are copyright issues as well. But don’t worry, lots of free images are available across the web. In this post, I’ll present 100 sources where you will find free graphic contents.

1. Canva

Canva offers millions of graphic-design resources including both free and premium ones. It has drag-and-drop tools with access to images and fonts to create graphic pieces online. The service is used by professionals and non-designers as well. Registration required to use Canva.

2. Freeimages.com

As the name suggests, freeimages.com hosts over 390,162 free photos and illustrations. You can search and find lots of free images along with a bigger collection (2.4 million+) of premium titles. You need to register there to download images.

3. Pixabay.com

Pixabay offers more than 430,000 royalty free high quality photos, illustrations and art pieces. You can browse and download those images without any registration.

4. Freerange Stock

Freerance Stock provides high resolution free-to-use photos along with an option to discover and download premium photographs. You can use their free images with or without crediting the source. Sign-in needed to download images from this site.

5. Dreamstime

Dreamstime has a reasonably good number of categories containing lots of free images. Downloading images from this site requires a free account registration.

6. Freephotos Bank

This site showcases its collections in some general categories such as Newest Photos, Popular Photos, Nature etc. You can download images from Freephotos Bank without registering an account there.

7. Image Free

ImageFree.com has both free and paid images. You can browse their ready-made gallery or search photos by keywords. Downloading files from here requires an account with the site.

8. IM Creator

IM Creator is a web resource provider offering images, templates, design and development services. You can download their free photos anytime without having to login.

9. Morgue File

Morguefile.com has 359,836+ free photos categorized by Popular, Recent, Last downloaded and Most downlaods. There are also premium photos available from $0.15. Free images can be downloaded anonymously, I mean no sign-in required.

10. Public Domain Pictures

PublicDomainPictures.net displays free ‘Public Domain’ images. There are premium downloads as well. You can easily browse, search and download images from here without opening an account with the site.

11. Stock Vault

StockVault.net hosts 59,000 free photos which can be searched and downloaded without paying them a dime. Downloading an image from here doesn’t need to login.

12. Public Domain Photos

Public-Domain-Photos.com offers 8000 free stock photos and clip arts licensed under Public Domain. You can download photos from here by browsing categories or searching with keywords- no registration needed.

13. FreeMedia Goo

FreeMediaGoo.com hosts free background photos, stock photos and textures. There are not so many photos, though. You can browse and download images here without any registration.

14. Picjumbo

Picjumbo.com has a quite good collection of free photos for personal and commercial use. The site doesn’t require you sign-up to download free titles. There are premium services as well.

15. Unsplash

On Unsplash.com, you can find high resolution photos for free and “do whatever you want”. There is no need of a registration. Just browse, search, find and download items.

16. Death to the Stock Photo

DeathToTheStockPhoto.com works in a bit different way than other similar services. You need to subscribe to their mailing list to get their pictures in batches. There are both free and premium options.

17. Rgb Stock

RgbStock.com says on their About page that they want to create the web’s best free stock photograph site. You can browse photos by categories and look in their collection using the search tool. Downloading photos requires registration.

18. Upicm

Upicm offers several categories of free images where you can just browse and download photos- no registration needed to get free titles from this site.

19. Stokpic

Stokpic.com provides almost everything what you would expect from a free-image website. You can browse, search and download free images without signing-up there. And yes, there is a premium membership as well.

20. Bigfoto

Bigfoto.com was founded back in 2000 to provide internet users with large-sized digital photos. And they are really doing this. You can download royalti-free high-res images from this site without having an account.

21. Travel Coffee Book

As the name suggests, TravelCoffeeBook.com hosts beautiful travel photos downalable for free and usable in commercial/personal purposes. Just visit the site and save/download photos. No registration needed.

22.  Superfamous Studios

Superfamous Studios provides images under Creative Commons 3.0 license that means you can use their photos for free with crediting them. I didn’t find any search option on the website. Just browse images and download/save files- no login required.

23.  Stock Photos

StockPhotos.io has 27,000+ high quality photos offered free for commercial use. The site says that users must give proper credits to the image author. You can download photos from here without creating an account with the site.

24. Gratisography

This website showcases high quality free photos available to browse by categories or search with keywords. Downloading an image is just a matter of mouse click, that means you don’t need to login to get a piece you like. These images are licensed under CC Zero.

25. Little Visuals

This site showcases images on its website and also sends 7 high-res free photos weekly if you subscribe to their mailing list.

26. Pickup Image

Pickup Image provides free, public domain photos with categorical browsing and search options. Opening a high-res photo doesn’t need an account with the site, but if you want to download them, register there.

27. SplitShire

Splitshire brings free stock images with no copyright restrictions. Just browse/search images and download whichever you like. No sign-in required to download.

28. Stock Pholio

Stockpholio.net puts a big search bar in the middle of the website where you need to enter your photo-keyword and search for a match. You wouldn’t need to create an account with the site to download photos via them, but some of its titles require you to give credits to the author(s).

29. Snapwire Snaps

Snapwire Snaps is a Tumblr based blog offers free images on its site which are downloadable in one click. If you subscribe to their email newsletter, you will receive 7 new free photos per week.

30. Skitter Photo

This website is very clear and frank about its contents. All the images you find there are free and licensed under CC0, that means those have no copyright restriction. Crediting is not necessary for their contents, but appreciated. Browse, search and download photos fast. No registration needed.

31. Ultra HD Wallpapers

Ultra HD Wallpapers offers free stock photos for personal/commercial use. Users can download those high quality photos without creating account on this site.

32. FreeFoto.com

FreeFoto.com has around 132,549 images organized into 183 sections and 3640 categories. You can use their images for free but crediting and link back is necessary. Submitting an email address is required to download images from here.

33. Digital Dreamer

This site offers royalty free images and doesn’t ask a link back or credit. Just go and save images- no sign-in required.

34. PD Photo

Pdphoto.org is a good place to find free images for your website, social media or blog posts. You can get photos from here without registering an account.

35. Photo Pin

Photo Pin lets you search and download millions of free photos. No sign-up required.

36. Cepolina

Cepolina offers more than 20,000 free photos that can be downloaded for private and commercial uses. No sign-up required.

37. Turbo Photo

This website lets you browse, search and download free images. No sign-up required.

38. Studio25

Studio25 has a reasonably good collection of free photos, but you need to sign-up to get them.

39. Pexels

Pexels is a beautiful site that provides free photos without forcing users to sign-up. Just browse, search and download.

40. Photo Everywhere

This site has high-res photos of several beautiful locations. You can download images on this site without having an account with them.

41. Moveast

Moveast showcases high resolution free CC0 photos. There are diverse categories and you can download them instantly. No login required.

42. Fontplay

Fontplay.com provides photos taken by its founder and volunteers. Vitis this site to browse, search and save photos in your device. No login needed.

43. Every Stock Photo

Every Stock Photo has a nice collection of nature and landscape photos. Visit the site and grab them now. No sign-up is mandatory.

44. MMT

Mmt.li provides free high quality photos for personal or commercial uses. You will get mainly nature, food and daily life related photos on this site. Just browse and download- no login required.

45. Deviant Art

Like many other similar image sites, this one also offers free photos and doesn’t require users to sign up to enjoy their free service.

46. Magdeleine

Magdeleine showcases beautiful and inspirational photos those can be collected without opening an account there.

47. Life of Pix 

The site has a nice collection of free high-res photos usable in your  personal and commercial purposes. No registration needed.

48. Image Finder

This website is a search tool that lets you discover images by keywords. Just search and find. The service is usable without an account.

49. Image Base

Image Base is a beautifully organized website that provides free stock images. Visit the site, browse and download titles. No registration required.

50. ISO Republic

ISO Republic has lots of high resolution photos downloadable and usable for free without signing-up there. The site doesn’t ask for a credit, but it appreciates that.

51. Good Free Photos

This site hosts public domain photos which you can use for free. No registration needed. If you credit them, that is appreciated.

52. Geek Philosopher 

Geek Philosopher is a free source of stock images. Visit the site and download photos. No registration required, but you need to credit them with backlink.

53. Photober

Photober offers free high-res stock photos for personal and commercial use. No signup is required to download images from here, but you need to give them credit.

54. Finda.Photo

This site offers categorical browsing and search with keyword/color. Using FindA.Photo doesn’t need to sign-up.

55. Epic Antus

Epicantus is a Tumblr site where the author uploads new high-res photos every week. All of them are free to use. Just visit and save images from there.

56. Designers Pics

DesignersPics offers eye-catching photographs for free. You can use them for personal or commercial uses. Sign-up or attribution is not necessary.

57. Albumarium

Find and share images on Albumarium. You wouldn’t need to sign-up to download photos.

58. Car Pictures

Yes, you assumed it right. Carpictures.com deals with vehicles. If you need car images, then visit this site and look for the right one. Saving an image doesn’t need a registration.

59. CG Textures

This website provides backgrounds and effects for artists, designers, game developers and other design professionals. Login is necessary to download photos from this site.

60. Animal Photos

The site title is self explanatory. Yes, here you can find free images of lots of creatures. Downloading doesn’t need a sign-up. Browse and save.

61. Realistic Shots

Realistic Shots uploads 7 new photos every week which are free to use. Sign-up is not necessary.

62. Minimography

Minimography provides nature and lifestyle related photos for free. Browse, search and download photos to use in personal or commercial purposes. No sign-up or attribution required.

63. Texturer

This website offers textures, backgrounds and other graphic resources for designers. You can use these contents for free, no registration required.

64. Free Stock Textures

It’s another site for designers. From the title you should realize that the author provides free contents. And the provider doesn’t force you sign-up to download images.

65. Openphoto.net

OpenPhoto.net offers diverse categories of photos for free. They don’t require you to sign-up to use those contents, but you must credit them properly.

66. Photl

Photl.com has both free and premium offers for its contents. You can download HD quality photos for free, but bigger resolution will cost money. Sign-in required.

67. Abstract Influence

Abstract Influence offers free images downloadable without any login. There is a forum as well. You can upload photos on this site.

68. NYC Pictures

This site is dedicated to share photographs of New York City. You can use them for free by crediting the author. No sign-up required.

69. Free Downloads

This site has a stunning browsing and searching interface. You can download free images from here without creating an account with them.

70. Freepik

Freepik showcases lots of free images with CC license. Sign-up may or may not be necessary depending on the download source.

71. Bossfight

Bossfight has a rich collection of free stock photos grouped into several commonly used categories. Browse and download photos easily. No sign-up needed.

72. Fancy Crave

Fancy Crave is another website useful to designers and publishers for their graphic needs. Users don’t need an account to download free contents from this site.

73. JE Shoots

JE Shoots offers beautiful high resolution images for personal or business uses, but you need to ‘Like’ them on Facebook to activate the ‘Download’ button.

74. Splashbase

Splashbase hosts free and high quality photos and videos. The site doesn’t require users to create account on the site. So visit and save stuffs you need.

75. ABS Freepic

ABS Freepic hosts CC0 stock photos which are searchable and downloadable without having an account with the site.

76. Jay Mantri

This Tumblr blog uploads images under CC0 license that means you can use them in personal or business purposes for free. No sign-up or crediting is necessary.

77. Photo Stock Editor

Photo Stock Editor site gets new photos every week. These images are usable in personal or business uses except direct selling. Download photos from the site right away. No registration needed.

78. LibreShot

LibreShot provides free images for your projects and they don’t ask any attribution. No sign-in required to download a photo from here.

79. Foodies Feed

This site hosts food related photos and you can download them free without opening an account there.

80. Free Nature Stock

Need nature related photos? Get them free (CC0) on this site. No registration needed. Go and save.

81. Kaboom Pics

Basically, Kaboom Pics offers lifestyle related photographs usable for free. Just visit the site and download which one you need. No login required.

82. Bara Art

This website hosts diverse categories of photos you may find suitable for your design or publishing projects. Download them right away and use for free.

83. Image Temple

Image temple doesn’t offer a big deal of photos, yet the site is worth trying because it has some beautiful nature images. And you can download them free without any registration.

84. Stick Stock Photos

This site has a great collection of stunning images organized into several groups. Downloading doesn’t require a sign-up. License varies by image. See while downloading.

85. Free Pixels

The title is self explanatory. Free Pixels offers free photos for personal or commercial use. Downloading doesn’t need an account with the site.

86. Public Domain Archive

The website title is self-explanatory. It gathers and showcases public domain images from around the web. Visit the site and save images free on your device. No sign-up required.

87. Lock and Stock Photos

Lock and Stock Photos offers free CC0 images usable without any attribution. Go and download photos, no registration needed.

88. Kave Wall

Kave Wall hosts free CC2.5 photos that means you need to credit the source to use those images. Downloading free images doesn’t need any sign-up.

89. TinEye

TinEye is an image search engine that finds photos using a sample photo upload or a link to the target image. I tried to search with a keyword, but the site denied. Try this tool today!

90. Wylio

Wylio offers more than 100 million photos to search, browse and download. The site wants you to create an account with them to access their database.

91. Creativity 103

This website provides free textures, backgrounds and art pieces to inspire designers. Download these resources without having to create an account there.

92. Bajstock

Bajstock provides free original photos for your personal or commercial projects. Just visit the site and download images. No sign-up required.

93. Free Photo Frames

This site deals with photo frames. Just browse and save those frames and give your photos a legacy look.

94. Stock Media

Stock Media is another site that provides lots of free photos in return of an attribution. Just visit the site and save images. No login required.

95. Unprofound

This site lets you download free images for free and use them without an attribution. No sign-up required.

96. Photo Collections

Photo Collections is a beautiful site that displays images in a grid layout and offers them free to use in personal and business projects. No sign-up required to download files from here.

97. Startup Stock Photos 

This site gives high-res photos with CC0 license that means you get free contents to use without any attribution, though crediting is appreciated. No login required.

98. Made in Moments

If you need free travel and food related photos, visit Made in Moments. Hope you will get some good titles.

99. Streetwill

Streetwill hosts a big deal of travel, lifestyle and food photographs free to use under CC1.0. Visit the site and save what you need.

100. Stock Snap

Stock snap is a beautiful site with lots of high-res CC0 photos that can be downloaded without registering with them. Search, browse and save.

101. Pikwizard

They have 100,000+ free images on the site. More than 20,000 of those are exclusive to Pikwizard. They are also adding new images to the library daily and their goal is to get to more than 1 million images.

Conclusion

In this post, I’ve tried to gather the best 100 sites providing free images. Some sites require attribution while others don’t. Please read the specific provider’s license terms before using any free content in your project. Thank you for reading.

Posted on — Leave a comment

Motion Design in UI – Designing in the Browser

Welcome to “Designing in the Browser.” In this series, we explore how to take a design, build it, and then tweak it in the web browser using the latest in web technology and design systems. Today we’re going to take a look at how we breathe life into our user interfaces using animations and interactions, and how we can scale motion principles throughout our application. Let’s dive in.

Motion on the web is a key part of any user experience. We need to be able to give a user feedback when they explore a page, whether that be via hover, focus, click, touch, or swipe. We can even provide interactions in response to user actions, like adding an item to a shopping cart. Simple interactions can be transitions between two states. Animation on the web, a similar but distinct concept, brings the user’s attention to a particular place in the UI, and can bring to light an otherwise standard web experience. It’s especially important that we have motion on the web, because a website is a digital interface that lacks real world cues, like physical touch and 3D space. These cues are what help us to understand the context of our daily experiences. However, we can imitate the physical world to create context in the web through motion principles in our UIs.

Material Design, Google’s open source UI design system, breaks motion down into three principles– informative, focused, and expressive.

Motion is informative – Motion shows spatial and hierarchical relationships between elements, which actions are available, and what will happen if an action is taken.

Focused – motion focuses attention on what’s important without creating unnecessary distraction.

Expressive – motion celebrates moments in user journeys, adds character to common interactions, and expresses a brand’s personality and style. Let’s take a look at some of these examples of motion within a UI.

We’ll start with transitions. Transitions allow for properties to change from one value to another. You can adjust the speed, timing function, as well as specify which properties are actually getting transitioned.

When you transition a property in CSS, the browser interpolates between values, meaning it calculates the steps between the starting and ending point, and displays those steps based on the speed and timing functions in between. A transition can be as simple as a color shift on hover.

I have a box here, and on hover, I’m simply changing the background color to be yellow. You can see this in DevTools by clicking on the element state here and selecting Hover. I’m also applying this to focus. You can see here that, even though the focus state is in a light gray, meaning it’s not currently active, the focus state is also getting the same style as the box on hover. You can test focus state as well with these element state tools. It’s a really nice way to test transitions on the web.

Here is an example of a material design component button. There is also a transition here when you hover over it. It is a little bit more subtle. There is a shadow that comes out of that, giving a little bit of depth to this button. But the simple transition here is that this box shadow is expanding.

So if we take a look at that, what it looks like is this. You have your box shadow, which is a little bit more of a complex transition here. And we’re specifying the transition to state what property we’re transitioning, the box shadow, the speed of the transition, 280 milliseconds, and then a cubic bezier as the timing function for the transition. When you hover over that button or focus on that button state, the box shadow changes to be a little bit more separated from the button to give it that appearance of popping off the page. This allows for a fluid transition that gives you some kind of 3D context based within physical space.

You can have multiple properties transition on any given element. And if the syntax can be calculated by the browser, like color, sizing, opacity, and transform, it’ll be a smooth transition. Some properties, like blend modes, can’t transition, because there are no values to calculate between those two states. So keep that in mind.

For the best performance, stick to transitioning opacity and CSS transforms so you don’t have to go through the entire paint, composite, layout steps when you’re applying changes in your CSS.

In this episode, I’ll be focusing on CSS-based animations. But if you’re interested in the topic of web animations in general, note that the Web Animations API provides much more power. The Web Animations API gives us key framing and timelines, meaning that we can start, stop, pause, and reverse animations, as well as orchestrate motions to start after one has ended.

CSS animations use the @keyframe keyword, and can also get pretty complex. You can use step or percentage animations to animate multiple properties at a time. Step animations aren’t necessarily fluid, think the second hand on a ticking clock. But with UI animations, we most often see percentage-based animations.

I’ll show you an example. So in this example, I’m using Glitch.com to be able to showcase the code next to the visualization of this animation. I have this ringing button, and there’s two different animations happening at the same time. There is a ring, where this icon is translating from left to right and sort of shaking. And there’s also a growing animation, where it’s scaling up. It’s also changing its container color. We’re using a couple of mix-ins here to change that container color. So we’re orchestrating both of these animations, and on the web we’re applying this animation grow onto the button itself. And then onto the icon specifically, we’re using the ring animation. So you can really make these complex. Here I’m using decimal points within a second. So you don’t just have to use percentage based on the second hand. You can really get complex here and make it as detailed as you want. Don’t think that CSS animations have to be simple. You can orchestrate them too. You just have to be careful with timing it yourself.

This example is a bit complex, but you can also have much simpler animations, and those are pretty common on the web. One shortcut I often use for animations is using the from and to keywords to stand in for 0% and 100%. That’s a pretty common thing when you want multiple properties to maybe transition at the same time, and just want to quickly throw them up in an @keyframe statement.

But what do these techniques look like within the frame of our motion principles? Let’s start with the first principle– motion is informative. We can use motion to create connections between elements and actions. The material design ripple is a great example of this, and I’ll show you what that looks like.

So here we have a layout. This is the material theme builder, where you can adjust properties like shape, color, and typography, and see what that looks like with all of these different components on a single page. Now, if I click on this button, you’ll see that wherever I click is where the ripple starts, and it then extends to the rest of the element. So it’s a response to the user. It’s this reaction to where the user is clicking on this UI. And that’s really nice, because we are creating this visual digital response mechanism to user input. You’ll also see a ripple in this card example. When you click throughout the card, you see that wherever I press is where the ripple starts and expands throughout that section. But the card is broken up into various sections. There is this main section, which is where we have an image, a headline, some text. That might be a link into a post, for example. We also have this bar here with buttons. Those buttons might represent actions. So we want to be able to separate the place that we click within that card with the action that’s taken by the user. So having that ripple expand and also a different state change, that color change that happens once we click, that helps the user to understand there’s different possible actions within the same element within a UI.

I also love the animation in the material checkboxes. That’s one of Disco’s favorite too. Here’s a demo with a data table. In this data table, we have the checkboxes. And you can see, as I click the checkbox, the little check pops in, it animates, and it’s really nice, the little user experience gives that feedback. We also see that the background of this element changes to a light purple color and this theme. And that indicates that the item is selected, along with the checkbox. When all of these items are selected, this top checkbox will also be checked, because every item inside of that is selected. If we deselected all of those, we see they all animate out the same time. So having this motion really helps to bring the user’s attention here.

Another item that’s important in motion is how it connects various elements. So here, we have a chip, and this chip is a filter chip. When we click the ice cream, the checkbox pops in, not only in that ice cream chip, but also in the items inside the data table. So it creates this really nice uniform interaction inside of this component, even though they’re two different elements that are interacting with each other.

This allows for this idea of a physical space, these physical interactions, these physical connections to be translated onto the web in a way that’s a little bit easier for you and for your users to understand.

The second principle is that motion is focused. It captures a user’s attention. Here are two examples of animations which call to the user’s attention. The first one we just looked at earlier is that ringing button. It brings the user’s attention to a possible action. In a floating action button, users can click to take a single action, or click to expand for a variety of actions. So this ringing floating action button brings attention to itself and asks the user to respond. The ring and grow animations being applied at the same time make this possible. They bring this fab to life.

Here’s an example of a shiny shop button which has a subtle sheen that just goes from left to right across it. And we’re using linear gradients to do this and this skew transformation. So here, we can see that that skew is translating from 0% to 100%. The animation is happening from 0% to 10%, and we’re then pausing. So it’s not repeatedly happening. So it’s going from 0% to 10%, and then we’re waiting till 100% to start over that little sheen across the button. But this also calls to the user’s attention, calls to that action button of adding to cart. And it’s just a little subtle nod to your user to pay attention to a specific place in the UI.

If you want to play with some of these examples, all of the links we’ve provided below for you to check out, remix, make them your own.

And finally, the last principle is that motion is expressive. In the previous example, the ringing button can bring a little personality and fun to an interface while also being informative.

I love these examples from the material.io spec that demonstrate how motion adds character and appeal to interactions. Motion on the web helps users to understand your app. It’s not just for flair and effect, but for a better user experience.

I hope today’s show helped you see how motion can be integrated into your application as something that’s informative, provides focus, and adds brand expression. What are your favorite examples of motion design on the web? Leave a comment below. We’d love to see them. Until next time.

Posted on — Leave a comment

6 Tools to Track Your Instagram Followers

If you are merely a casual user of Instagram, showing a few pictures with your friends, you may not see any need to track your Instagram followers, or indeed how your posts perform. However, if you take your Instagramming more seriously, you are going to want to keep a vigilant eye on your Instagram account, along with the genuineness of your followers.

This is particularly the case for influencers and brands. In both cases, the quality of their following matters very much. Ultimately brands are only in the social space to strike a dialogue with their customers and potential clients. Their work with influencers has the same overall goal. There is little point in having followers who are not part of their target market.

It is perhaps less crucial for non-commercially minded influencers. However, they, too, are unlikely to be influential with people who couldn’t care less about their posts.

Brands and influencers are also interested in the behavior of their followers. What types of posts interest them? Which topics are of little importance and get ignored?  As far as serious influencers are concerned, analytics, and data about their Instagram performance can be a godsend, and help them make more interesting and valued posts.

The following list highlights tools that, in some way, help you track your Instagram followers, and in many cases, the overall performance of your Instagram account.

1. Social Bakers

6 Tools to Track Your Instagram Followers

6 Tools to Track Your Instagram FollowersSocial Bakers is primarily a social media management platform that you can use to manage all your marketing tasks together easier. It includes an Analytics & Benchmark section that covers everything from benchmarking, content, and performance to influencers and paid campaigns. You can use it to get the full information you need to understand your performance. It allows you to benchmark your organic, paid, video, and influencer performance metrics against industry averages or competitors.

Although not as advanced as the paid tool, Socialbakers offers a free Instagram Analytics Tool for personal and business profiles. It allows you to discover your most popular Instagram posts, track your success, and learn what gets your audience double-tapping. It shows your most popular photos, filters, and hashtags, although it only offers limited information about your followers.


2. Union Metrics

6 Tools to Track Your Instagram Followers

Union Metrics offers a free Instagram account checkup. It is of limited use to understanding your followers over time, although it provides some insights into how your account is performing currently.

The Union Metrics paid plans provide more information to marketers. The $49/mo Social Manager plan allows you to analyze engagement and measure the performance of your social accounts. With the $99/mo Social Marketer plan, you can monitor relevant conversations and generate audience insights with in-depth reporting. At the top end, you have the $199/mo Marketing Team package that offers all the analysis, monitoring, and reporting you need for comprehensive social marketing.

You can use Union Metrics to monitor all your social profiles to learn precisely how your content performs. It will show you what content works across social media – and what doesn’t, and when your audience is most receptive to find the best time to post.


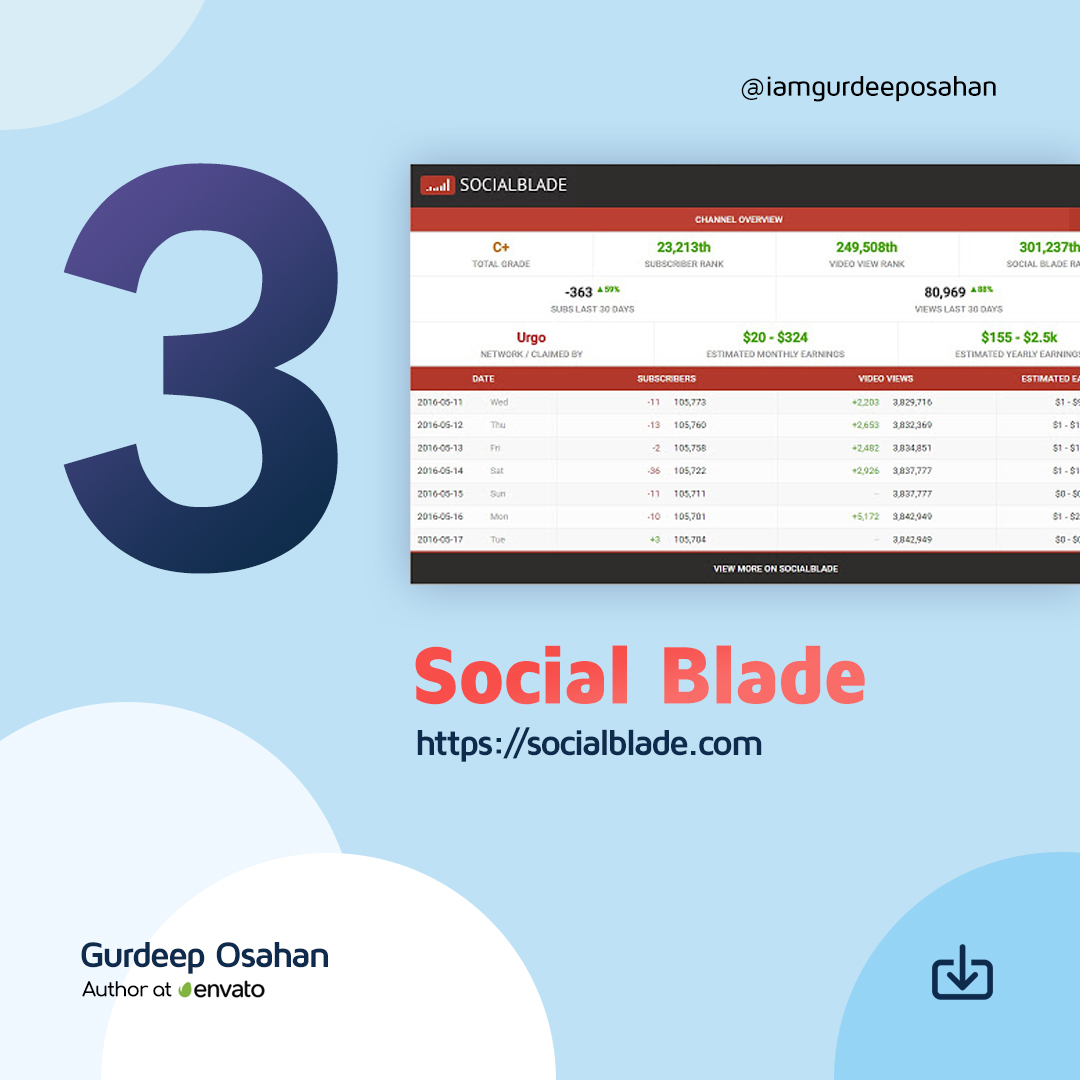
3. Social Blade

6 Tools to Track Your Instagram Followers

Social Blade provides a wealth of stats on public Instagram media accounts. They pull data explicitly from your public profile, so you won’t find anything if you have made your account Private – but if you are a business or influencer, it makes no sense to have a Private account.

For future projections, you do need to provide them with at least two points, so you need to scan your account multiple times over time if you want to build a set of useful data.

Social Blade also shows quite a few interesting charts about the top Instagram accounts, such as the Top 50 (and 100) Followed Instagram Users. They do emphasize that they are using the new Instagram API, so they can only get data on Instagram business/creator accounts.


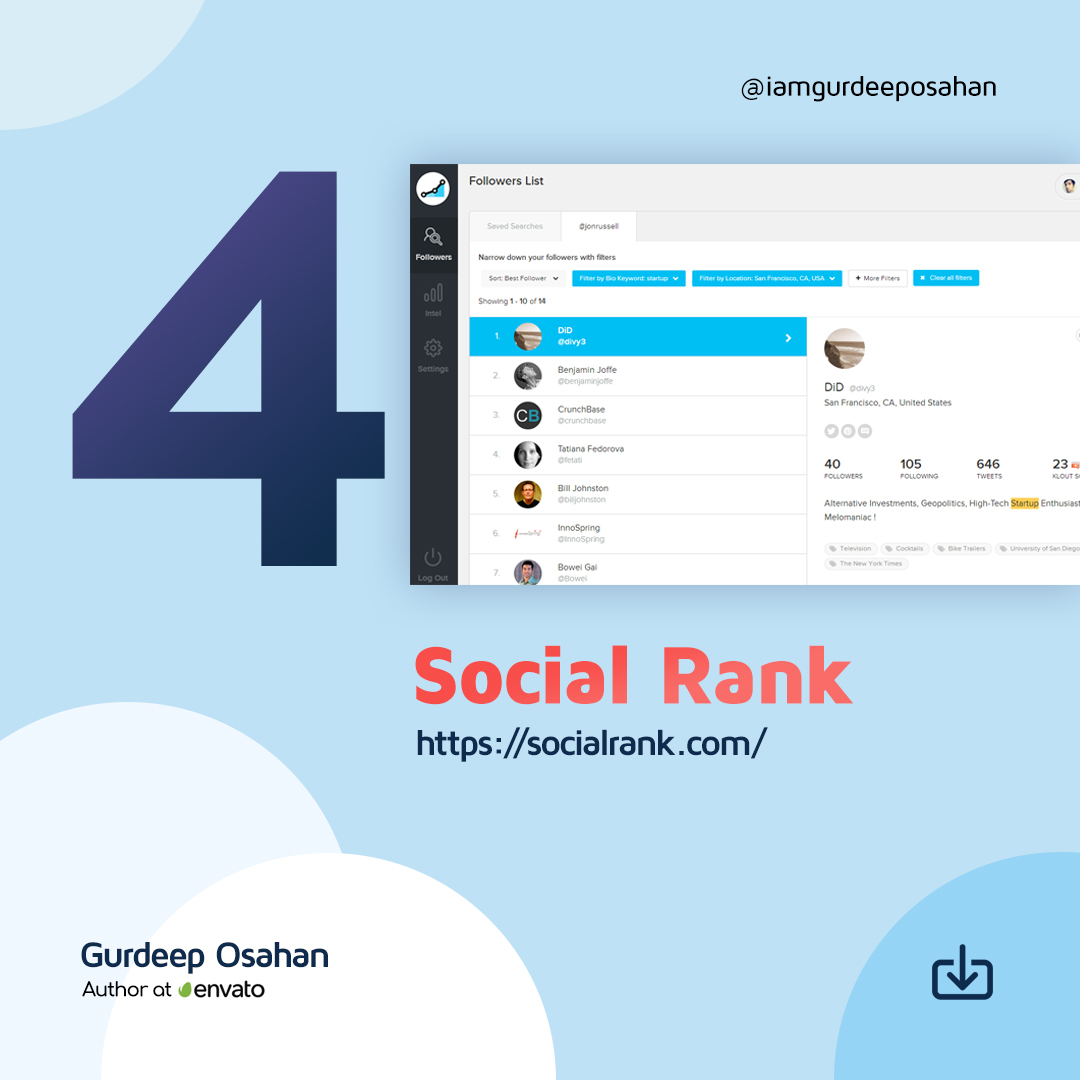
4. Social Rank

6 Tools to Track Your Instagram Followers

You can use SocialRank to discover detailed audience metrics for Instagram, as well as Twitter. You can segment your audience by using various sorting and filtering options. You can create custom lists, export the data to PDF, and run campaigns.

You can sort your audience by Most Valuable (your most influential profiles), Most Engaged (determined by the frequency of engagement), Best Followers (a combination of Most Valuable and Most Engaged), Most Followed, Alphabetized and Chronological (Newest and Oldest). You can also filter and pinpoint your audience by filters ranging from bio keyword, word/hashtag search, and geographic location, to verified number of followers, activity, and more.


5. Iconosquare

6 Tools to Track Your Instagram Followers

Iconsquare offers both free and paid tools that help you track your Instagram followers. Their free tool provides an Instant Instagram Audit. All you have to do is to connect your Instagram account and enter your email address. They will then send you a free report that tells you where you’re shining and where you’re falling flat. Instagram Audit analyzes 20+ metrics on your latest 30 posts over the last 30 days. It provides tips on your account activity, audience engagement, account settings, and content strategy.

The paid version of Iconsquare offers a robust analytics, management, and scheduling platform for brands and agencies. A customized dashboard quickly visualizes the metrics most important to you, and scheduled reports help you stay on top of your game. Graphs display your performance for metrics like follower evolution, average engagement rate per post, and reach and impressions history. Benchmarks for over 100 industries allow you to compare your performance using metrics like follower growth, engagement, and reach. It includes community analytics, so you can understand where your followers are, the languages they speak, and their age and gender.

A recent addition allows you to understand how your Instagram promoted posts impacted your performance across metrics like reach, engagement, impressions, follower growth, and more.


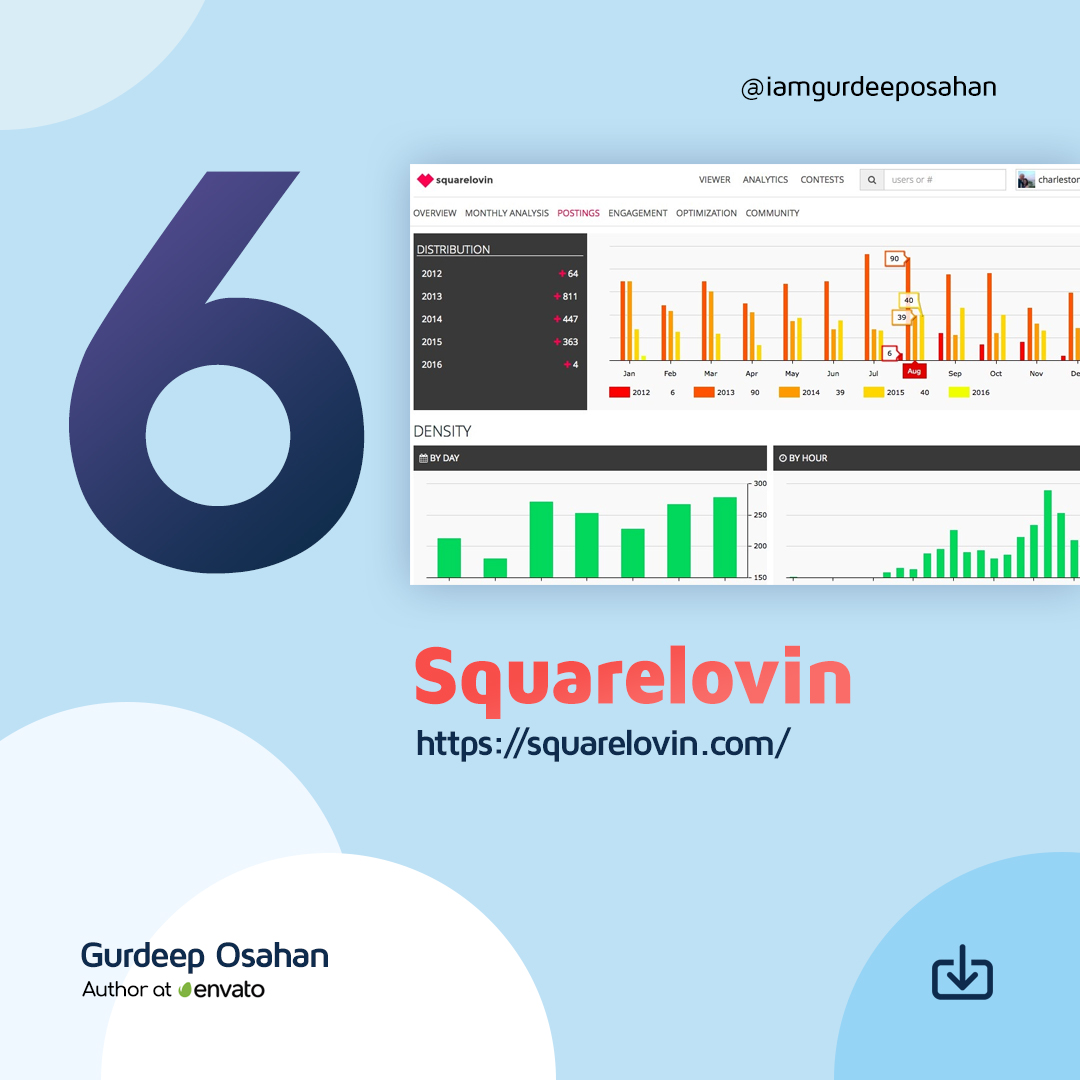
6. Squarelovin

6 Tools to Track Your Instagram Followers

Squarelovin offers a free in-depth analytics tool that gives you access to metrics on your recent posts and growth, a monthly analysis, and a history of your posts broken down into year, month, day, and hour. It provides you with more insights on your communities’ preferences and interests, and what drives engagement. Squarelovin even shows you your best and worst times to post.

6 Tools to Track Your Instagram Followers

IG : Gurdeep Osahan , Ask Bootstrap

Source :  influencermarketinghub  🙂

Posted on — Leave a comment

Gatsby Easily Start with bootstrap

Hello Everyone.

Today We are going to discuss about one of the best framework gatsby’s starter include react-bootstrap. Gatsby is a free and open-source framework based on React that helps developers build blazing-fast websites and apps.

First of all Install Node.js and npm in your system

Gatsby is built with Node.js. To get up and running with Gatsby, you’ll need to have a recent version installed on your computer. you can get it from here: https://nodejs.org/en/download/

To confirm Node.js installation Open up the terminal and Run node --version it will show the currently installed version in your system after that check Run npm --version as the same way.

After successfully installation now time to Install the Gatsby CLI.

Run npm install -g gatsby-cli

Now your system environment ready to develop gatsby website and we are going to get all the source code of gatsby bootstrap stater project. we can directly download from https://github.com/billyjacoby/gatsby-react-bootstrap-starter this link and also if you using git clone this repo by using git clone https://github.com/billyjacoby/gatsby-react-bootstrap-starter.git.

Whenever all the source we get now Run yarn install or yarn. yarn install is used to install all dependencies for a project.

After all done. now Start development server.

Run gatsby develop

Gatsby will start a hot-reloading development environment accessible by default at localhost:8000

Thank you !!

Posted on — Leave a comment

How to display a page in a modal window popup

Jquery

In this post we will tell you about method of using Modal box to display a complete .HTML file in Modal box rather opening it in new window or tab.

There are a few different ways to do this, but the best way is to use an AJAX request to the page using.

Jquery:

$.post("ajax.html", function(data){

    $("#myModalDiv").html(data).fadeIn();

});

Then to bind this to your anchor, assign it an ID and do this in your $(document).ready():

$(document).ready(function(){

    $("a#someId").on("click", function(){

        //Put the code from above here.

    });

});

Note that this will only work for files on the same domain.

If you want to use files on a different domain, you will have to use an iframe.